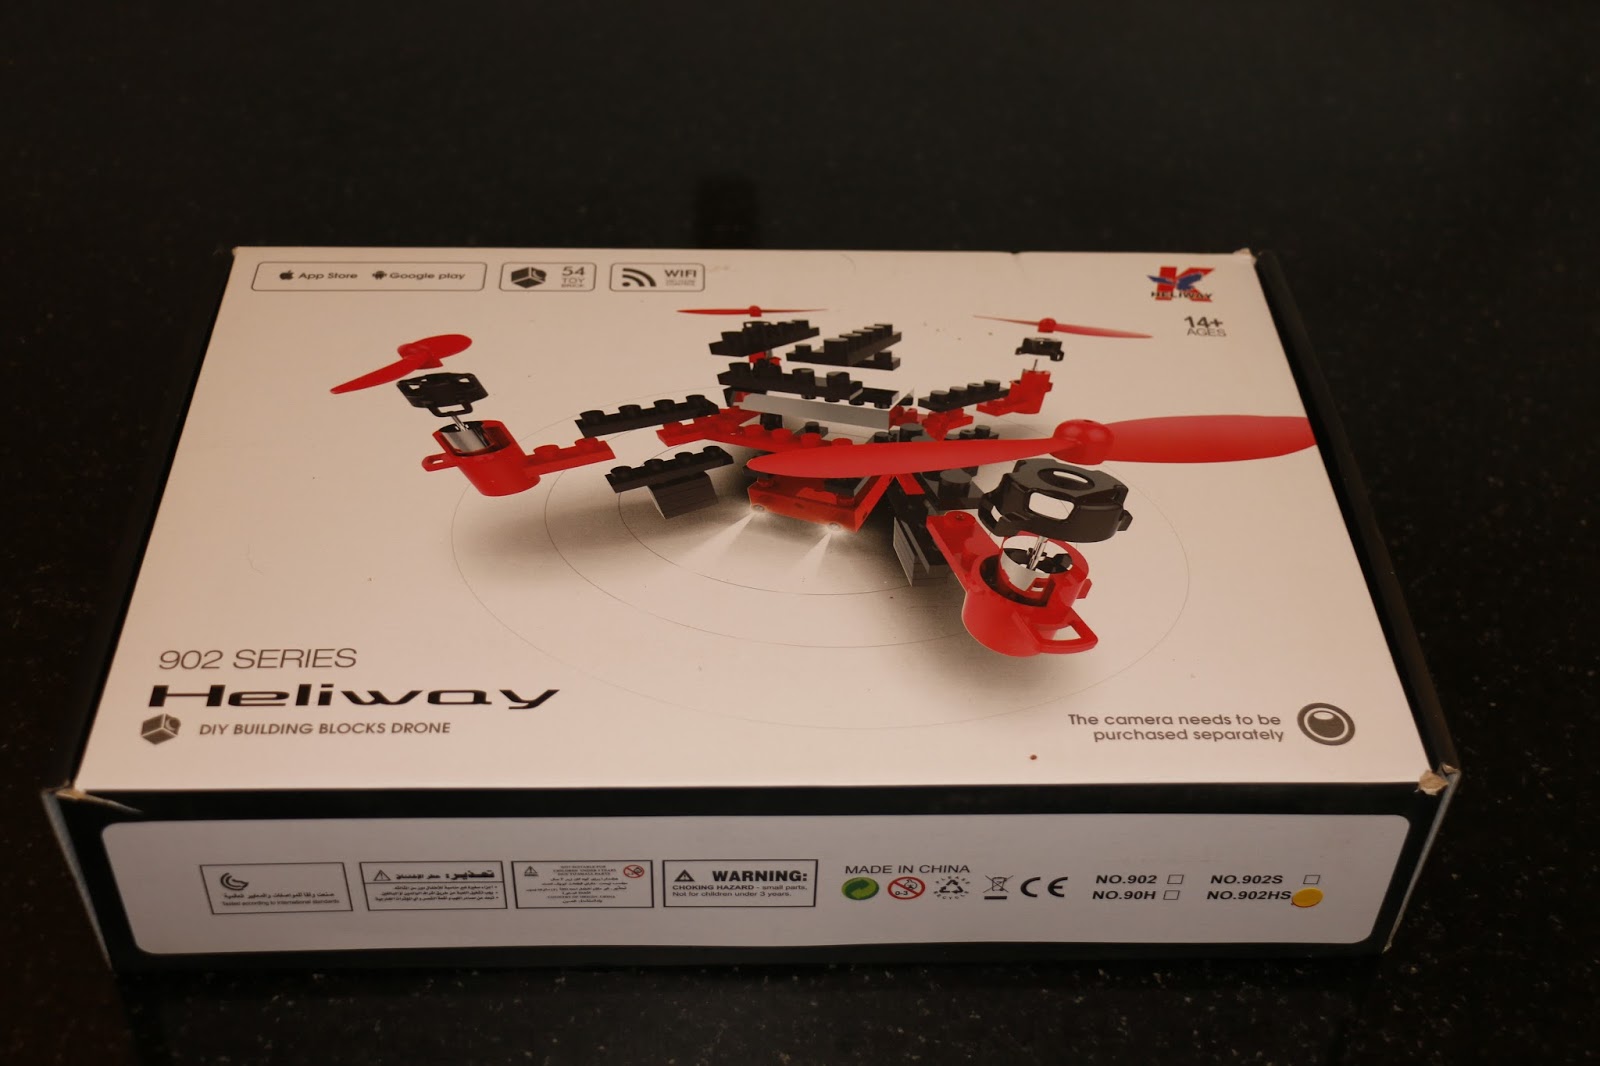
Here's a review of what at first sight looks like yet another toy drone. Is it really worth the $50 they ask for it?

In the largest of the blocks lies the secret: a true flightcontroller that controls a meriad of functions.
Of course, it will spin the motors, and try the best it can to keep it flying steadily. Gyroscopes measure any upset in any of the three axes, and the controller responds by adding or removing power to the appropriate motors to couteract the upset. That's basic flight controller functionality.
But this one does more than that ... Let's find out!
Opening the large box, we find little bags of Lego compatible stones, a controller, and some other bits and bobs. Everything you need to get this thing flyins is there, including a 600mAh LiPo battery, with it's charger, and 4 spare propellers (and an extraction tool for propellers).

Putting the little quad together is litterally child's play with the supplied picture manual.
Then there is an app in the App store / Google Play Store. You can control the quad with the supplied controller, or with the app on a phone or tablet. In the HS version, you also get a phone mount that clicks on to the controller, for if you want to fly with the controller, while watching FPV footage on the phone. Yes, you read that correctly: it even has an FPV camera on board! It's that little black dot in between the front LEDs :)


So, aren't there any down sides to this product then?
Well, .. yes. Of course. In fact, there are a few, even.
The battery is slightly too wide for the compartment it is supposed to fit in. Now, these LiPos are renowned for being not very reproducable, as far as dimensions go, so it might be that yours fits snugly, but mine fit ugly. That meant that the flight controller box was put under some tension, and as would happen with Lego blocks, continuous force in one direction, topped off with vibrations: the flight controller block came loose slowly. Now, it sits inside the Velcro strap that goes around the body of the quad, so it won't fall off easily. But it will come loose at one side first, and start to turn. That causes the quad's leveling system to tilt the quad itself, and therefore start to drift. More than could be compensated for by trimming.
My solution was to put a drop of super glue between the flightcontroller box and the X-piece that goes on top of it. But that would only put more fysical strain on the battery in it's compartment, so I didn't use 4 blocks as a "roof" over the battery, but used two to create higher walls, and only two as the "roof". That way, the battery had enough room not to be squashed, yet sat in it's compartment snugly.
And then there is the fact that it is made from Lego (compatible) bricks. That makes it light and strong, and easily repairable. But that also has a small down side: As it is so light, it is not very well suited for flying outdoors, with any amount of wind. I found that out empirically. And upon landing backwards, flying full throttle into the wind ... three of the 4 "legs" broke off, and dissappeard in the grass. I did not find those little black blocks in between the tall grass anymore. So now I'll go to the toy store, and buy me some flashy coloured bricks to replace them! I could glue them all together, but I kinda like the way that it is repairable like this, and even open to modifications (within weight limits, of course).
Last thing I would like to mention is that it takes about an hour to charge the battery with the supplied charger (and any other charger, I would presume), which drains in about 5 to 7 minutes. A very decent flight time for such a small battery; I did not expect it to be that long. But now I sit here waiting for the hour to pass by...
Solution would be, of course, to get me a (couple of) spare battery (batteries), but I haven't found them online with the correct connector. That seems to be a rare one.
These are only minor things. And repairable at that. My overall opinion on this little flyer is extremely positive!
Probably the most positive thing about this one is its crashworthiness: 10/10!
I have crashed about 10 times, including a tumble half way down the stairs, and flew into door posts, ceiling lights, even a light switch! And nothing broke off, except for the landing gear blocks I lost in the tall grass. The prop guard is still intact, as are all 4 original propellers!
Below picture and link will take you to the respective page of the products on the GearBest website.
There may be coupon codes available for these products, which will reduce the price even more. Please enquire about them with me through the contact form on the top-right menu.

And remember: buying from China is cheap, but it takes a while to ship accross the world. So if you are not in a hurry, it just might be your best bet!
See the sticky message on this facebook page for more details and important information on ordering goods from China. And check out those coupons, while you're there ;)
In the largest of the blocks lies the secret: a true flightcontroller that controls a meriad of functions.
Of course, it will spin the motors, and try the best it can to keep it flying steadily. Gyroscopes measure any upset in any of the three axes, and the controller responds by adding or removing power to the appropriate motors to couteract the upset. That's basic flight controller functionality.
But this one does more than that ... Let's find out!
Opening the large box, we find little bags of Lego compatible stones, a controller, and some other bits and bobs. Everything you need to get this thing flyins is there, including a 600mAh LiPo battery, with it's charger, and 4 spare propellers (and an extraction tool for propellers).

Putting the little quad together is litterally child's play with the supplied picture manual.
Then there is an app in the App store / Google Play Store. You can control the quad with the supplied controller, or with the app on a phone or tablet. In the HS version, you also get a phone mount that clicks on to the controller, for if you want to fly with the controller, while watching FPV footage on the phone. Yes, you read that correctly: it even has an FPV camera on board! It's that little black dot in between the front LEDs :)

The app background is the FPV signal, when the quad is powered on and while the phone is connected to the WiFi access point it then creates. So there's also a WiFi AP in there, eh?...
As you can see from the app screen, you can take photos and record film from the FPV footage. It's all faily low-res, of course, but fun non the less!

But wait, there's more in that app screen... Between the virtual controls, there are buttons for auto take-off, and auto-land! That will have the copter climb to about 1.5m, and hover at that altitude. And then land back on the ground again. That means there must also be a barometer in there somewhere...
It also has "headless mode", which will mover the quad away from you when you pushe the right lever up (assuming mode 2, which is default - but modifyable). Does it also have a GPS, then? No. It will assume that it is pointing away from you at startup, and use the gyroscopes to keep track of it's relative heading. But still .. headless mode on a $50 quad.. Amazing!
And then there's 3D functions: arm "3D", and large stick movements result in 360 degree flips or rolls.
All those functions can also be found on the remote controller. And if you press the second button from the right in the top menu bar of the app, then you hide the virtual controls, and the quad starts to blink, indicating it has lost signal from it's controller. But the FPV image remains- only now undisturbed by the controls overlay. Fire up the remote controller, and you're good to fly with your FPV screen attached to the controller. Awesome!
So, aren't there any down sides to this product then?
Well, .. yes. Of course. In fact, there are a few, even.
The battery is slightly too wide for the compartment it is supposed to fit in. Now, these LiPos are renowned for being not very reproducable, as far as dimensions go, so it might be that yours fits snugly, but mine fit ugly. That meant that the flight controller box was put under some tension, and as would happen with Lego blocks, continuous force in one direction, topped off with vibrations: the flight controller block came loose slowly. Now, it sits inside the Velcro strap that goes around the body of the quad, so it won't fall off easily. But it will come loose at one side first, and start to turn. That causes the quad's leveling system to tilt the quad itself, and therefore start to drift. More than could be compensated for by trimming.
My solution was to put a drop of super glue between the flightcontroller box and the X-piece that goes on top of it. But that would only put more fysical strain on the battery in it's compartment, so I didn't use 4 blocks as a "roof" over the battery, but used two to create higher walls, and only two as the "roof". That way, the battery had enough room not to be squashed, yet sat in it's compartment snugly.
And then there is the fact that it is made from Lego (compatible) bricks. That makes it light and strong, and easily repairable. But that also has a small down side: As it is so light, it is not very well suited for flying outdoors, with any amount of wind. I found that out empirically. And upon landing backwards, flying full throttle into the wind ... three of the 4 "legs" broke off, and dissappeard in the grass. I did not find those little black blocks in between the tall grass anymore. So now I'll go to the toy store, and buy me some flashy coloured bricks to replace them! I could glue them all together, but I kinda like the way that it is repairable like this, and even open to modifications (within weight limits, of course).
Last thing I would like to mention is that it takes about an hour to charge the battery with the supplied charger (and any other charger, I would presume), which drains in about 5 to 7 minutes. A very decent flight time for such a small battery; I did not expect it to be that long. But now I sit here waiting for the hour to pass by...
Solution would be, of course, to get me a (couple of) spare battery (batteries), but I haven't found them online with the correct connector. That seems to be a rare one.
These are only minor things. And repairable at that. My overall opinion on this little flyer is extremely positive!
Probably the most positive thing about this one is its crashworthiness: 10/10!
I have crashed about 10 times, including a tumble half way down the stairs, and flew into door posts, ceiling lights, even a light switch! And nothing broke off, except for the landing gear blocks I lost in the tall grass. The prop guard is still intact, as are all 4 original propellers!
Below picture and link will take you to the respective page of the products on the GearBest website.
There may be coupon codes available for these products, which will reduce the price even more. Please enquire about them with me through the contact form on the top-right menu.
And remember: buying from China is cheap, but it takes a while to ship accross the world. So if you are not in a hurry, it just might be your best bet!
See the sticky message on this facebook page for more details and important information on ordering goods from China. And check out those coupons, while you're there ;)
This comment has been removed by a blog administrator.
ReplyDelete